Understanding Bare-Root Raspberry Plants
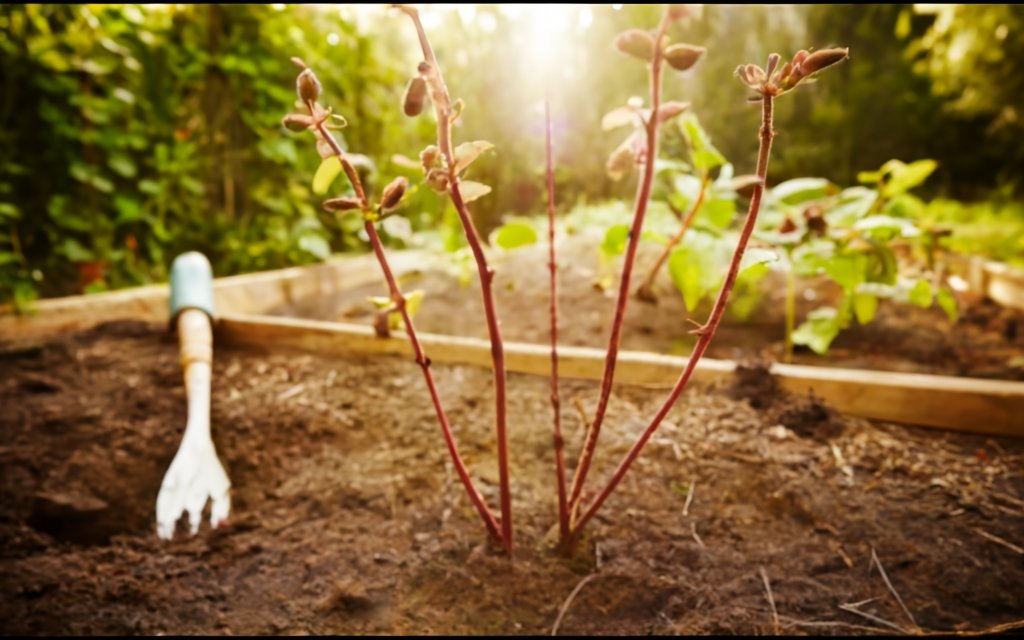
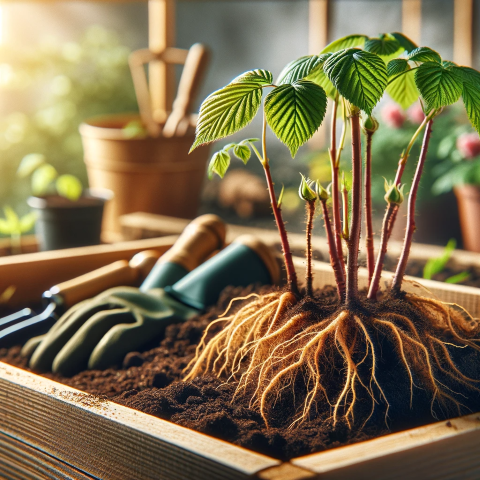
Bare-root raspberry plants are raspberry starters that come without soil, appearing as little more than dormant canes with roots. Their popularity among garden enthusiasts boils down to a few practical reasons. They’re typically more robust, cost-effective, and their lack of soil makes them lighter and cheaper to ship. Once settled into your garden during their preferred planting window, these bare-root plants quickly leap into action, sprouting new growth and paving the way for bountiful harvests down the line.

Importance of Proper Planting
The success of raspberry plants hinges on the right start—proper planting. Picture the process as the foundation of a house; if it’s shaky, the whole structure is compromised. Planting raspberries at the correct depth ensures they aren’t suffocated or left too exposed, while spacing is key to prevent overcrowding and promote healthy air circulation. Sunlight is their lifeblood, with a full day’s exposure leading to the sweetest fruits. And, you can’t ignore soil drainage—raspberries detest soggy conditions, which can spell disaster for their roots. Mastering these planting essentials can set you up for seasons of lush growth and plentiful berries.
Preparing Your Site for Planting
Choosing the Right Location
When you’re eyeing spots in your garden for raspberries, think sunshine and a good pair of rain boots. Full sun is non-negotiable for these berry beauties. Without at least six to eight hours of direct sunlight, your raspberries will throw a fit, producing fewer and smaller fruits. Now, for the rain boots part: imagine standing in a puddle all day—not fun, right? Raspberries hate it too. Well-drained soil is your ticket to happy plants. It’s like choosing the right neighborhood before you move in; the location has got to have the perks your raspberries need to thrive.
Soil Preparation and Testing
Before you let your raspberries hit the dirt, there’s some ground work to do—literally. Testing soil pH isn’t just for science buffs; it’s your secret weapon for berry success. Raspberries love slightly acidic to neutral ground (pH 5.5 to 6.5). Too high or too low, and your plants could miss out on vital nutrients. Missed that day in chemistry class? No worries, soil testing kits are your cheat sheet, and they’re found at most garden centers. Once you’ve got your numbers, it’s time to talk amendments. If your soil is throwing pH shade, adding organic matter like compost can bring it back to raspberry-loving levels.

Ideal Soil pH Range and Amendments
| SOIL PH | AMENDMENT NEEDED |
|---|---|
| < 5.5 | Lime to raise pH |
| 5.5-6.5 | None, it’s ideal |
| > 6.5 | Sulfur to lower pH |
Remember, your raspberries will be bunking down here for years, so take the time to set up their bed just right. It’s all about that groundwork for a berry bountiful future.
The Planting Process
Steps for Planting Bare-Root Raspberries
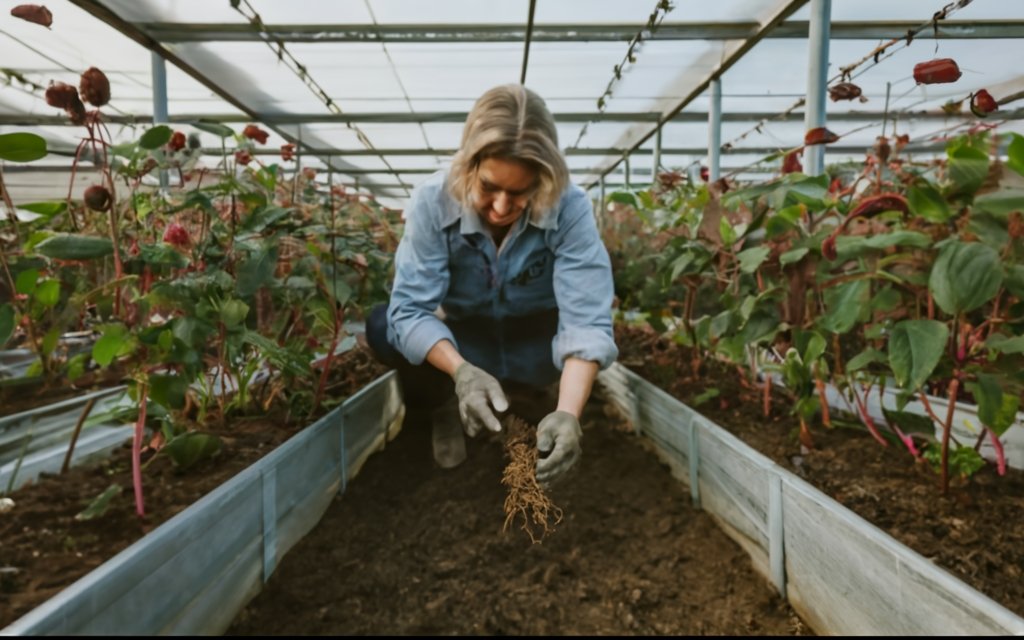
Roll up your sleeves—it’s planting time. Follow this step-by-step guide to get your bare-root raspberries off to a solid start:
- Timing is Key: Plant in early spring as soon as the ground is workable.
- Soak Roots: Submerge the roots in water for an hour before planting to hydrate them.
- Dig a Trench: Make it wide and deep enough to comfortably spread the roots out.
- Roots Down, Canes Up: Position the plant so the roots are downward and the canes are standing upright.
- Mind the Crown: Ensure the crown (where roots meet stem) is just at soil level.
- Backfill the Trench: Gently cover the roots with soil, firming it down to remove air pockets.
- Water Well: Give your newly planted raspberries a generous drink to settle the soil around the roots.
- Space Them Out: Leave about 18 inches (45 cm) between plants to allow room for growth.
- Trellising: Eventually, depending on the variety,, your raspberry canes may need a trellis to help them stay upright.

Post-Planting Care
Once your raspberries are snug in their new home, the care you provide in the coming weeks is crucial for their establishment and future productivity.
- Watering Schedule: Keep the soil moist but not waterlogged. Watering should be thorough, especially during dry spells, to encourage deep roots.
- Mulching Techniques: Mulch with organic material like straw or wood chips to conserve moisture, regulate soil temperature, and keep the weeds at bay.
- Pruning Canes: After planting, trim the canes to about 9 inches (23 cm) tall to encourage new growth.
Remember, your raspberry plants don’t need a babysitter, just a committed gardener. Regular checks and these early care steps will pave the way for a bumper crop of juicy berries.
Raspberry Plant Types and Their Care
Different Types of Raspberry Plants
Raspberries aren’t just raspberries. They come with their own personalities, sort of speak. You’ve got two main types to choose from: everbearing and summer-bearing. The everbearing raspberries, also known as fall-bearing, are the overachievers. They produce fruit twice a year—once in summer and then again in fall. On the other hand, summer-bearing varieties stick to a strict schedule, fruiting once in the summer. This isn’t just trivia; knowing your type is crucial because it affects how and when you’ll harvest. Got a patio or a smaller space? Everbearing varieties are usually more compact, while summer-bearers tend to stretch out more.

Pruning and Training Raspberry Plants
Now, let’s talk about keeping your raspberries in line—pruning and training them. These aren’t just fancy gardening terms; they’re essential to getting the most out of your plants.
- Everbearing Raspberries: For a one-harvest strategy, cut all canes to ground level in late winter. If you fancy two harvests, only prune the canes that bore fruit in the fall, right after harvest.
- Summer-Bearing Raspberries: These require a bit more finesse. After fruiting, prune only the canes that produced berries, leaving the rest to fruit the following year.
Training is all about directing growth. Using a trellis system, you can guide your canes to grow upward, which improves air circulation and reduces disease risk. It also makes picking those precious berries a lot easier. Remember, a well-pruned and trained raspberry plant is a happy and productive one—so don’t skip this step!
Ongoing Maintenance and Harvesting
Routine Care for Raspberry Plants
Keeping raspberry plants at their best is like keeping a car tuned—it’s not just one-and-done. Fertilization comes first. Give them a balanced feed in early spring to kick-start their growth, and then again after harvest to prep them for next year’s bounty. But it’s not just about feeding; pest control is your defense strategy. Be vigilant and keep an eye out for troublemakers like aphids and raspberry beetles. A regular spray with an eco-friendly insecticide can help, or you can get up close and personal by hand-picking pests off your plants.
Harvesting and Using Raspberries
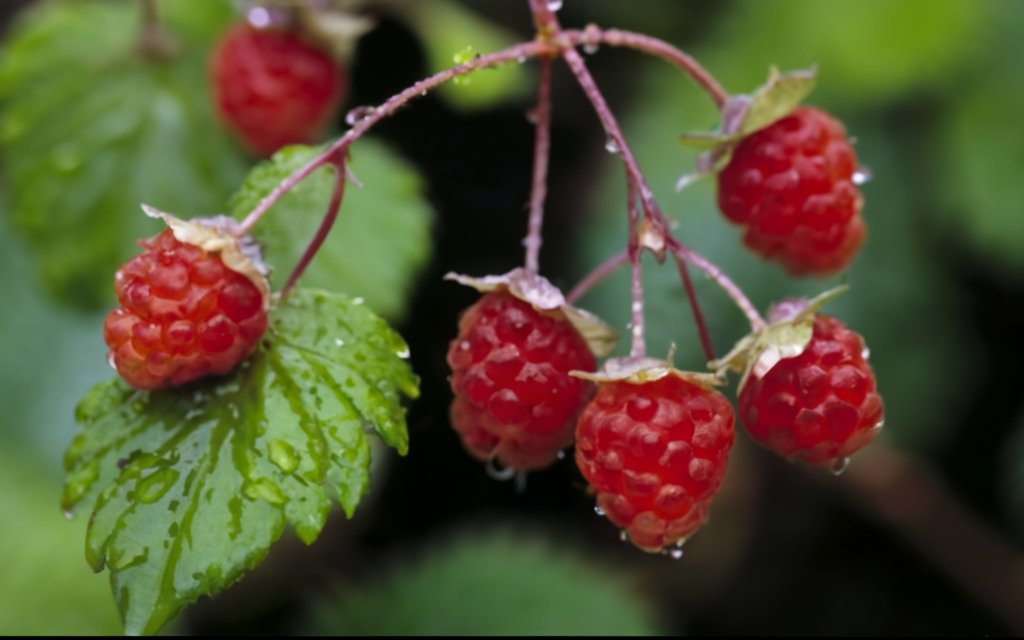
Harvest time is the best time, right? Raspberries are ready to pick when they’re rich in color and come off the stem with a gentle tug. The trick is to harvest regularly; every couple of days should do it. This not only encourages more fruit to develop but also keeps the pesky birds from getting to them first. And after you’ve picked your raspberries, the sky’s the limit with what you can do—jams, pies, smoothies, or hey, just eating them by the handful works too! Want to show off? Whip up a raspberry coulis to drizzle over desserts and watch your dinner guests ‘ooh’ and ‘ahh’.

Summary and Final Thoughts
Let’s wrap this up with a quick recap on growing raspberries that are the envy of the neighborhood. Start with the basics: bare-root raspberry plants in a sunny, well-drained location. Test and amend your soil to hit that sweet spot of pH 5.5 to 6.5. When planting, think like a raspberry: space to grow, not too deep, and a good drink of water to get settled. Keep up the care with a smart watering schedule, mulch to keep the moisture even, and pruning to encourage growth. Remember, your raspberry plants’ needs will change with the seasons—so stay observant, stay consistent, and always be ready to adapt.
Growing raspberries is a journey, not a sprint. But with these tips, you’re well on your way to fresh, homegrown berries that’ll make every summer sweet. So, go on, give it a shot—your taste buds (and maybe your neighbors) will thank you.
